🧩 Chapter 3.1: Home Assistant Integrations
This chapter details the software application layer, native integrations, and community integrations of Home Assistant, which is responsible for running the Modular and Open-Source Science Station (MOSSS) central gateway ecosystem. This configuration translates incoming data into local vector matrices and safety alerts.
📱 Layer 1: Home Assistant Mobile Companion App
- Mobile App Integration: Links localized system notifications directly to the Home Assistant Companion App on field-technician smartphones. This setup bypasses standard cloud delivery delays to fire high-priority critical alerts with custom alert sounds immediately upon matrix breach.
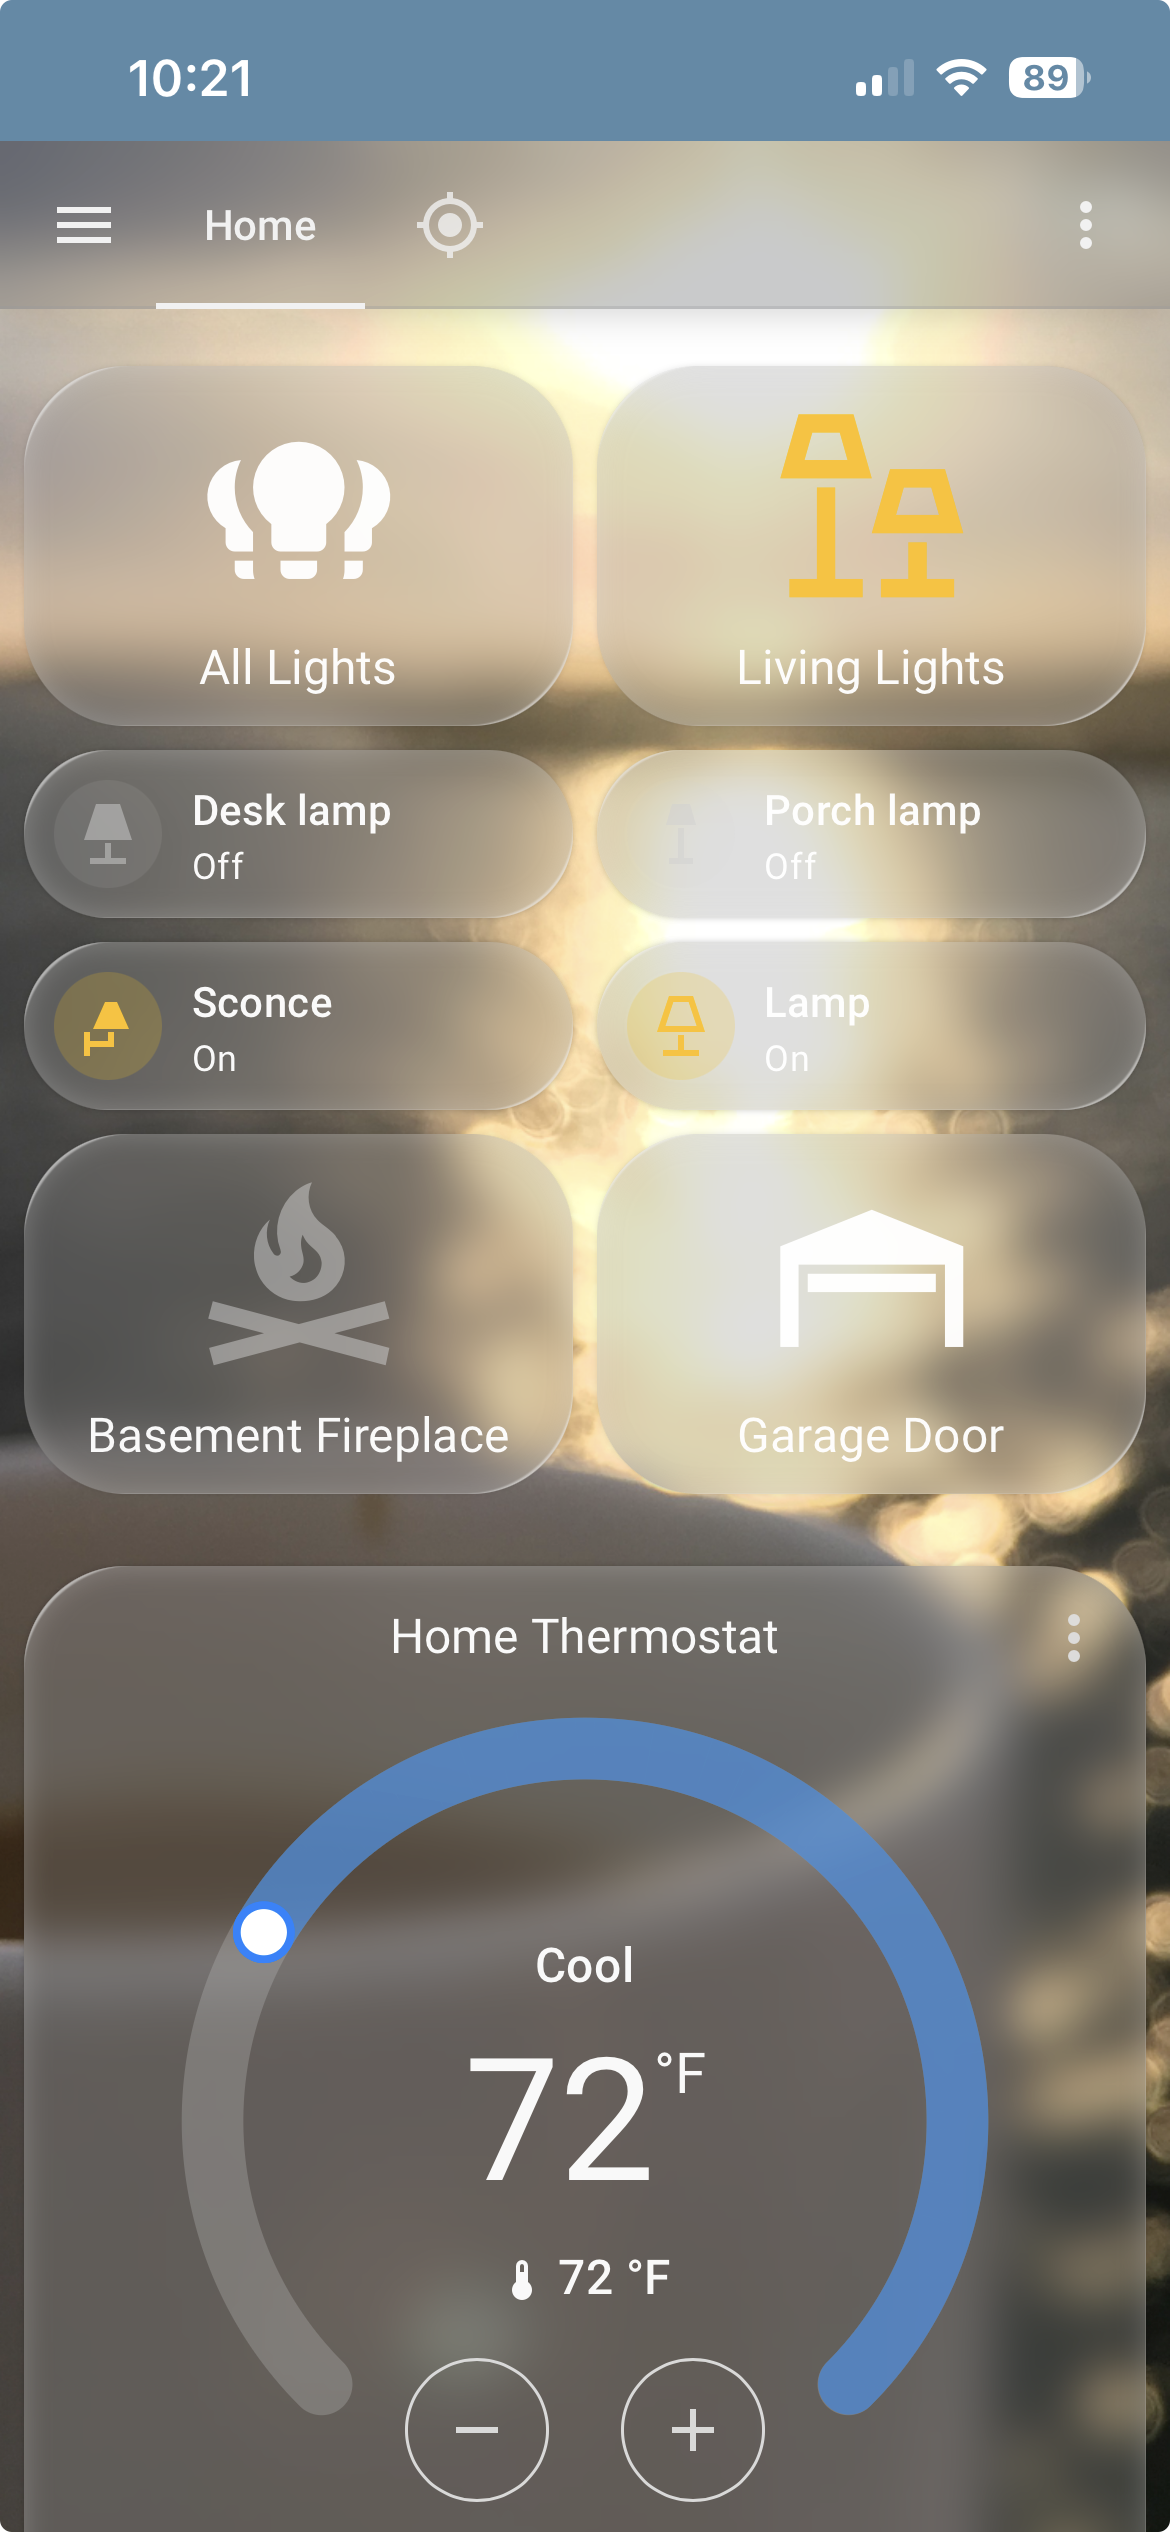
Step 1: Download the App
- iOS / iPadOS: Search for Home Assistant in the Apple App Store.
- Android: Search for Home Assistant in the Google Play Store.
Step 2: Local Network Connection
- Connect your mobile device to the same local Wi-Fi network as your Home Assistant server.
- Launch the app. It will automatically scan your subnet and discover your gateway (e.g.,
http://homeassistant.local:8123orhttp://192.168.x.x:8123). - Select your instance and authenticate with your administrator credentials.
- Enable requested permissions (Notifications, Location, and Background Refresh) so the app can register critical push alert channels and update presence sensors.
Remote Access will be covered later in Chapter 3.2
🔌 Layer 2: Home Assistant Integrations
Finding and Installing Native Integrations in Home Assistant
Native integrations are official components built directly into Home Assistant, requiring no third-party repositories or external store installations.
Suggested native integrations include:
- EcoWitt: Captures hyper-local meteorological data (temperature, humidity, rain rate, wind metrics) directly from local network broadcasts via the GW3001 gateway or local webhooks.
- Weather.com: Pulls regional atmospheric data and historical forecasting projections to complement microclimate array readings.
- Home Assistant Supervisor & Backup: Handles core OS container maintenance, system health, and automated daily database backups.
- Raspberry Pi Hardware & Power Supply Checker: Monitors gateway hardware thermals, CPU metrics, and reports undervoltage issues to protect storage integrity.
- Sun: Calculates solar elevation vectors, daylight hours, and astronomical data used to track field array solar harvesting performance.
- Meteorologisk Institutt: Provides native local weather forecasting and ambient meteorological baseline tracking.
- MQTT (Mosquitto Broker): See chapter 4: MQTT Bridges external data streams—such as LoRaWAN field node telemetry routed through The Things Network (TTN)—directly into Home Assistant.
- RESTful Sensor / API Framework: Enables cloud-based data ingestion (
rest.yaml) from off-grid gateways like the GW3001 when deployed outside the local network subnet. - System Housekeeping Tools (Bluetooth, Local IP, Radio Browser, Shopping List): System-level native components managing local connectivity, gateway network parameters, and auxiliary entities.
- The Things Network Used to connect TTN edge nodes (eg. WOILD Sensors) to your Home Assistant Instance. Setup is addressed in Chapter 4.3: TTN and LoRa.
Step-by-Step Installation
-
Navigate to Integrations: In your Home Assistant sidebar, go to Settings → Devices & Services.
-
Add New Integration: Click the + Add Integration button in the bottom-right corner of the Integrations tab.
-
Search & Select: Type the name of the service, protocol, or device brand in the search bar (e.g., Ecowitt, Weather.com, Sun, or MQTT).
-
Configure Credentials: Follow the on-screen wizard to input required authentication details (such as local IP addresses, API keys, or user login tokens).
-
Assign Area (Optional): Once set up, Home Assistant will prompt you to assign the newly discovered entities or devices to a specific Area (e.g., Outdoors or Gateway Station).
💡 Auto-Discovery Note: Many local hardware devices (like HomeKit accessories, Philips Hue hubs, or local network gateways) will automatically trigger a notification card at the top of the Devices & Services page as soon as they join your local subnet—allowing one-click setup without manual searching.
🌦️ EcoWitt GW3001 Integration Setup
🏠 Method 1: Local Network Integration (Native Webhook)
Use this method when the EcoWitt GW3001 gateway and your Home Assistant server reside on the same local network subnet.
Step 1: Configure Custom Webhook in WS View Plus
- Open the WS View Plus (or EcoWitt) mobile app on a device connected to the local Wi-Fi network.
- Select your GW3001 gateway device from the list.
- Navigate to Menu → Customized (or Weather Services → Customized).
- Enable the custom upload service and enter the following settings:
- Protocol Type:
Ecowitt - Server IP / Hostname:
<YOUR_HOME_ASSISTANT_LOCAL_IP>(e.g.,192.168.1.100) - Path:
/api/webhook/ecowitt - Port:
8123(or your local custom HA port) - Upload Interval:
300seconds
- Protocol Type:
- Save and apply the configuration.
Step 2: Enable Integration in Home Assistant
- In Home Assistant, go to Settings → Devices & Services.
- Click Add Integration in the bottom right corner.
- Search for Ecowitt and select it.
- Confirm the prompt to complete setup. Home Assistant will begin auto-discovering sensor channels as the GW3001 sends webhook payloads.
☁️ Method 2: Remote Deployment (RESTful Cloud API)
Use this method when the GW3001 is deployed at a remote, off-grid, or field station lacking a direct local network link back to Home Assistant. See Layer 3: Apps & File Editor for details about finding and editing YAML files.
1. Generate Application Key & API Key
-
Log into your account at ecowitt.net.
-
Click your profile icon/avatar in the top-right corner and select User Center (or Profile).
-
Navigate to the API Management tab in the sidebar menu.
-
Application Key: Click Create Application Key to generate a client identifier string.
-
API Key: Click Create API Key to generate your personal data authorization token.
-
Locate Your GW3001 MAC Address
- Via WS View Plus App: Open the app → Device List → locate GW3001 MAC address (
X1:X2:X3:X4:X5:X6). - Via EcoWitt Web Portal: Log into ecowitt.net → Device Settings (gear icon) → view MAC address.
- Via WS View Plus App: Open the app → Device List → locate GW3001 MAC address (
-
Add rest.yaml to Home Assistant
- Download or prepare your
rest.yamlfile. Copy ours here, but make sure you replace YOUR_APP_KEY, YOUR_API_KEY, and YOUR_MAC_ADDRESS with your actual values. - In Home Assistant, open File Editor and create a new file named
rest.yamlin the root folder alongsideconfiguration.yaml. - Copy the full contents into your newly created
rest.yamlfile and save. - Ensure your
configuration.yamlincludes the line:rest: !include rest.yaml. - Verify via Settings → Developer Tools → YAML → Check Configuration.
- If valid, restart Home Assistant or perform a Quick Reload.
- Download or prepare your
📦 Layer 3: Home Assistant Apps (Add-ons)
These applications run as isolated system containers managed by the Home Assistant Supervisor to provide local backend utilities. They include the following possible installs:
-
File Editor: Provides a direct, lightweight web editor workspace to create, update, and manage your core configuration files (
configuration.yaml,rest.yaml,templates.yaml,automations.yaml). They can be copied here -
Studio Code Server (VS Code): Serves as an advanced, full-featured code editor add-on for editing YAML scripts, managing runtime directory structures, and debugging syntax directly within Home Assistant.
-
Mosquitto Broker: Runs an isolated local MQTT broker container to ingest raw telemetry payload strings (such as LoRaWAN data from TTN) and route them to Home Assistant’s internal databroker M2M channel. More detailed information found in Chapter 4: MQTT.
-
Samba Share: Exposes the Home Assistant root configuration folders over the local network, allowing technicians to map directory drives and manage system files securely from an external PC.
-
Tailscale / WireGuard (VPN Add-ons): Creates secure, encrypted mesh network tunnels to allow field technicians direct, remote access to the local Home Assistant instance from cellular or satellite networks. More detailed information found in Chapter 3: Remote Access.
-
File Editor / Studio Code Server: Provides a direct editor workspace to securely update configuration scripts and manage local asset logs inside the
software/Home-Assistant/Runtime-Configurationdirectory.
📦 Finding and Installing Add-ons in Home Assistant
Add-ons (also referred to as Apps in updated Home Assistant UI releases) are isolated Docker containers managed directly by the Home Assistant Supervisor. They run alongside Home Assistant Core to add system utilities, database brokers, and file management tools.
⚠️ Requirement: Add-ons are only available on Home Assistant OS (HAOS) or Home Assistant Supervised installation types.
Step-by-Step Installation Guide
-
Access the Add-on Store:
- In your Home Assistant sidebar, navigate to Settings → Add-ons (or Apps).
- Click the Add-on Store (or Install App) button in the bottom-right corner.
-
Search for the Application:
- Browse through the default Official or Community repository lists, or use the search bar at the top to type the name of the tool (e.g., Mosquitto broker, File editor, Samba share, or Studio Code Server).
-
Install the Add-on:
- Select the application card from the search results to open its information page.
- Click the INSTALL button.
-
Configure Settings:
- Open the Configuration tab at the top of the add-on page to set required options (such as setting passwords for Samba share or defining ports for Mosquitto).
- Click Save to apply your parameters.
-
Start and Enable Options:
- Return to the Info tab.
- Toggle Show in sidebar if you want direct access from the main navigation panel (recommended for File Editor and Studio Code Server).
- Toggle Start on boot and Watchdog so the container automatically runs and restarts if it crashes.
- Click START to launch the container.
Adding Custom Third-Party Repositories
If an add-on is hosted outside the official store repositories:
- Go to Settings → Apps → Add-on Store.
- Click the three dots menu (
⋮) in the top-right corner and select Repositories. - Paste the URL of the third-party GitHub repository and click Add.
- The newly added tools will now appear at the bottom of the store list for installation.
🧩 Layer 4: Home Assistant Community Store (HACS)
Deploys as our secondary package manager to unlock community-driven custom cards, integrations, and advanced backend tools not available in the core distribution line. This includes:
- UI eXtension (UIX) & card-mod: Injects custom CSS styling directly into the Home Assistant DOM to dynamically alter visual card elements, warning indicators, and background colors.
- visionOS & iOS Liquid Glass Theme: Provides a high-readability visual wrapper with a transparent glassmorphic layout tailored for low-light command monitoring environments.
- Weather Radar Card: Displays live, interactive radar precipitation scans alongside weather sensor metrics to track approaching storm cells.
- Clock Weather Card: Integrates dynamic real-time clock displays alongside localized meteorological sensor readouts.
- Horizon Card: Renders solar elevation vectors, dawn/dusk intervals, and astronomical metrics to analyze field node solar panel charging efficiency.
- Map Card: Tracks spatial locations using geospatial coordinates (X, Y) for active WOILD nodes, automatically highlighting nodes in red when vector deviation thresholds trip.
- Embedded Webpage Card (Windy.com): Renders live wind vectors and barometric weather models directly inside the dashboard UI without requiring external API processing.
🔐 INSTALLATION PREREQUISITE: To initialize the HACS environment on a fresh installation, you must have a valid GitHub Account. The setup process requires you to authenticate the local gateway using GitHub’s secure OAuth device-pairing key protocol before the community repository manager can unlock.
🧩 Installing Custom Elements via HACS (Home Assistant Community Store)
HACS serves as a community package manager to download custom integrations, themes, and frontend UI cards that are not available in the official Home Assistant Core distribution.
Initial Setup & Prerequisites
- Prerequisite: Ensure you have a free GitHub Account ready for authentication.
- Install HACS Integration:
- Navigate to Settings → Devices & Services → Add Integration.
- Search for HACS.
- Follow the prompt to copy the device activation code, open the provided GitHub authorization link (
github.com/login/device), and authenticate the gateway.
- Sidebar Access: Once authorized, a dedicated HACS tab will appear in your Home Assistant main sidebar.
Step-by-Step Installation of HACS Resources
-
Open the HACS Panel: Click HACS in your sidebar navigation panel.
-
Search for Elements:
- Click the Search bar or select the filter category (e.g., Integrations or Frontend).
- Type the name of the desired resource (such as card-mod, Weather Radar Card, or Clock Weather Card).
-
Download Resource:
- Select the resource card from the search results.
- Click Download (or Download with HACS) in the bottom right corner.
- Select the latest release version and confirm the download.
-
Activate the Installed Resource:
- For Frontend Cards & Themes: Refresh your web browser (
Ctrl + F5orCmd + Shift + R) to force Home Assistant to load the new JavaScript resources. - For Custom Integrations: Restart Home Assistant (Settings → System → Restart), then navigate to Settings → Devices & Services → Add Integration to finish setting up the newly installed integration.
- For Frontend Cards & Themes: Refresh your web browser (
Adding Unlisted Custom Repositories
If a custom frontend card or integration is not listed in the default HACS store:
- Open HACS from the sidebar.
- Click the three dots menu (
⋮) in the top-right corner and select Custom repositories. - Paste the URL of the GitHub repository (e.g.,
https://github.com/author/custom-card). - Select the category (Integration or Dashboard / Lovelace) and click Add.
- The resource will now appear in your HACS search results ready for download.
👉 Proceed to Chapter 3.2: Remote Access